How to take Screenshot in laptop
How to take Screenshot in laptop ? Here i will show some easy steps to take screenshot. Screenshots are a handy tool for capturing an image of what’s displayed on your laptop screen. Whether you want to save a snapshot of a web page, a chat conversation, or a software error message, taking a screenshot is an easy way to do it. In this article, we will guide you through the steps of taking a screenshot on your laptop.
Method 1: Using the Print Screen key
The Print Screen key is a commonly used key for taking Screenshot . Follow these simple steps to take a screenshot using the Print Screen key:
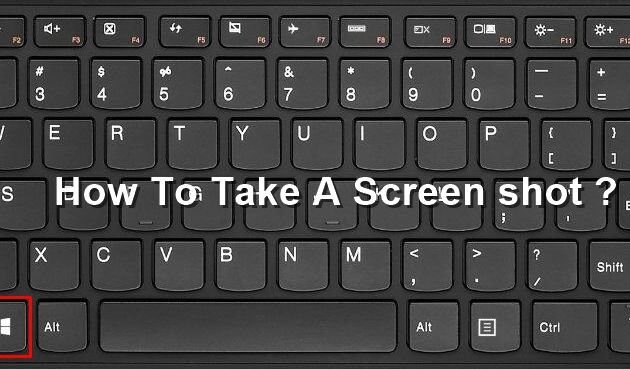
Step 1: Locate the Print Screen key on your keyboard
The Print Screen key is usually located on the upper right-hand side of your keyboard, and it may be abbreviated as “PrtScn” or “PrntScrn”.
Step 2: Press the Print Screen key
To take a screenshot of your entire screen, press the Print Screen key once. If you only want to capture a specific window, click on the window to bring it to the foreground and press the “Alt + Print Screen” keys.
Step 3: Save the screenshot
Open an image editing tool like Paint or Photoshop, and press “Ctrl + V” to paste the screenshot. Save the image to your desired location.

Method 2: Using the Snipping Tool
Windows laptops come with a built-in screen capture tool called the Snipping Tool. Follow these steps to take a screenshot using the Snipping Tool:
Step 1: Open the Snipping Tool
To open the Snipping Tool, click on the Start menu and search for “Snipping Tool”. Click on the app to launch it.
Step 2: Select the type of screenshot you want to take
The Snipping Tool offers several modes for taking screenshots, such as Full-screen snip, Window snip, and Rectangular snip. Select the mode that best suits your needs.
Step 3: Take the screenshot
Click and drag the cursor over the area of your screen that you want to capture. Once you have captured the desired area, release the mouse button.
Step 4: Save the screenshot
Click on the “File” menu and select “Save As” to save the screenshot to your desired location.

There are numerous screenshot apps available on the Web. Among them, we recommend Snagit.
Snagit is a screenshot program with image editing and screen recording features. You can use it to take a screenshot snappily, you can edit the screenshot fluently with its advanced image editing tools, and you can indeed capture vids.
Download and install Snagit.
Run and subscribe in to the program, also click the Capture button. Move the pointer to where you want to start the screenshot, also drag to elect an area. Or hang over a window or area to bus- elect it, also left- click your mouse to capture the area. Click the camera icon on the toolbar to save your screenshot as an image. Edit your image in the pop- up Snagit Editor window. You can add shapes, textbook, goods, or make adaptations to your image. Save your image or click the Share button in the upper right corner to partake the image.
In conclusion, taking a screenshot on your laptop is a quick and easy process that can be done using either the Print Screen key or the Snipping Tool. By following the steps outlined in this article, you can capture and save any image displayed on your laptop screen.


